
Introduction
In an age where digital photography and smartphones have become ubiquitous, there is a growing community of photographers who prefer the tactile and immersive experience of analog photography. Analog photography, also known as film photography, is the traditional process of capturing images using light-sensitive film, which is then developed and printed in a darkroom. The allure of this age-old craft lies in its unique aesthetic, the tangible nature of the medium, and the sense of anticipation and surprise that comes with each roll of film. For some, it is a way to slow down and reconnect with the roots of photography, while for others, it is an opportunity to explore the more experimental and unpredictable aspects of the medium.
In this article, we will delve into the fascinating world of analog photography and guide you through the detailed process of developing and printing film. From understanding the different types of film to mastering the art of darkroom techniques, this comprehensive guide will equip you with the knowledge and skills needed to bring your analog images to life.
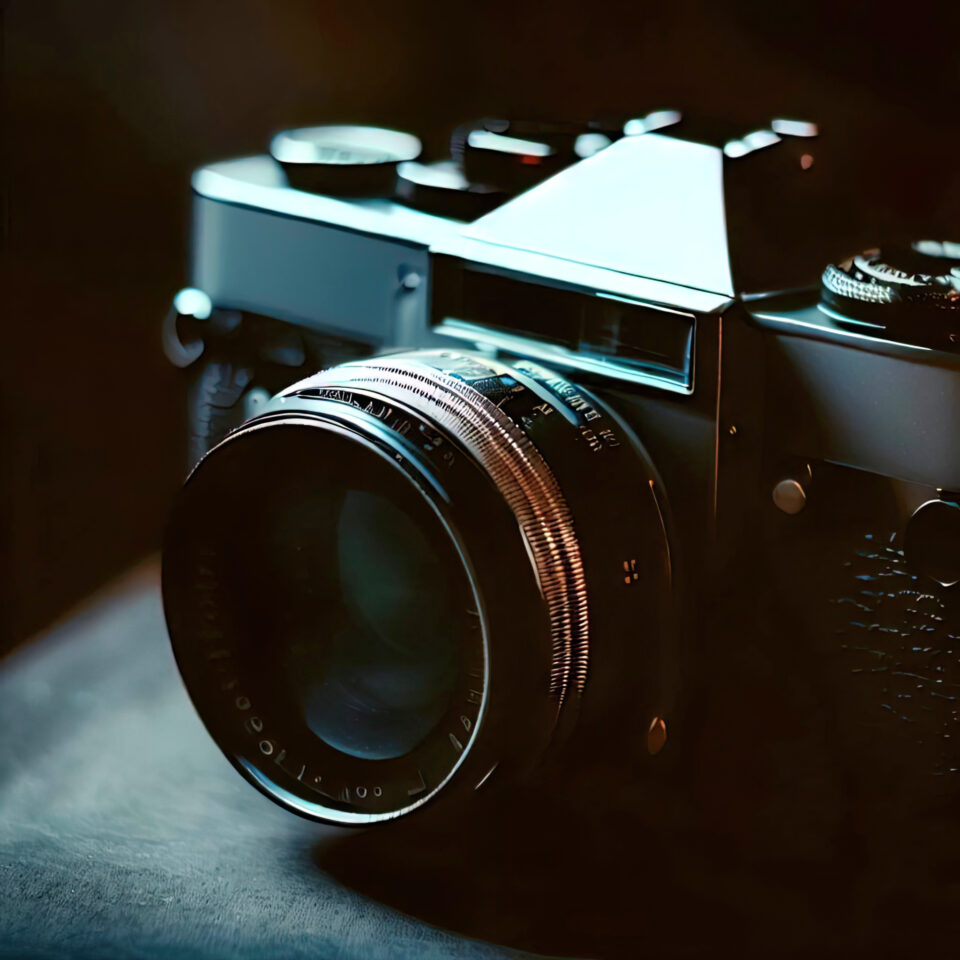
1 – Understanding Film Types and Formats
The first step in the journey of analog photography is selecting the right film for your needs. There are several types of film available, each with its unique characteristics and aesthetic qualities. The two main categories of film are black and white and color, with further distinctions between negative and positive (slide) film.
Black and white film offers a classic, timeless look, with a focus on contrast, texture, and tone. Color film, on the other hand, captures a wide range of hues and is available in both negative and positive (slide) formats. Negative color film produces a negative image that is later inverted during the printing process, while slide film produces a positive image that can be directly projected or scanned.
Film formats also vary, with the most common being 35mm, medium format (120/220), and large format (4×5, 8×10, and larger). The format you choose will depend on your camera and your desired level of detail and depth of field.
2 – Loading and Exposing Film
Once you’ve chosen your film, the next step is to load it into your camera and begin shooting. Loading film varies depending on the camera type, so consult your camera’s manual for specific instructions. When exposing film, it’s crucial to consider factors such as shutter speed, aperture, and ISO to achieve the desired result. Use a handheld light meter or your camera’s built-in meter to determine the correct exposure settings.
3 – Developing the Film
Developing film is a delicate and precise process that requires careful attention to detail. The development process can be broken down into five main steps: pre-soaking, developing, stopping, fixing, and washing.
Pre-soaking: This optional step involves immersing the film in water for a few minutes to help achieve even development and reduce potential streaks.
Developing: The film is placed in a light-tight developing tank and submerged in a chemical developer, which reacts with the exposed silver halide crystals on the film to create a visible image. The film is agitated periodically, and development times vary depending on the type of film and developer used.
Stopping: After development, the film is rinsed in a stop bath solution to halt the developing process and prevent overdevelopment.
Fixing: The film is then submerged in a fixer solution to remove any unexposed silver halide crystals, making the image permanent and light-resistant.
Washing: Finally, the film is thoroughly washed in running water to remove any residual chemicals, ensuring the longevity of the image.
4 – Drying and Cutting the Film
Once the film has been washed, it must be carefully hung to dry in a dust-free environment. Drying times can vary, but it typically takes several hours for the film to dry completely. After the film is dry, it can be cut into individual frames or strips for storage and further examination.
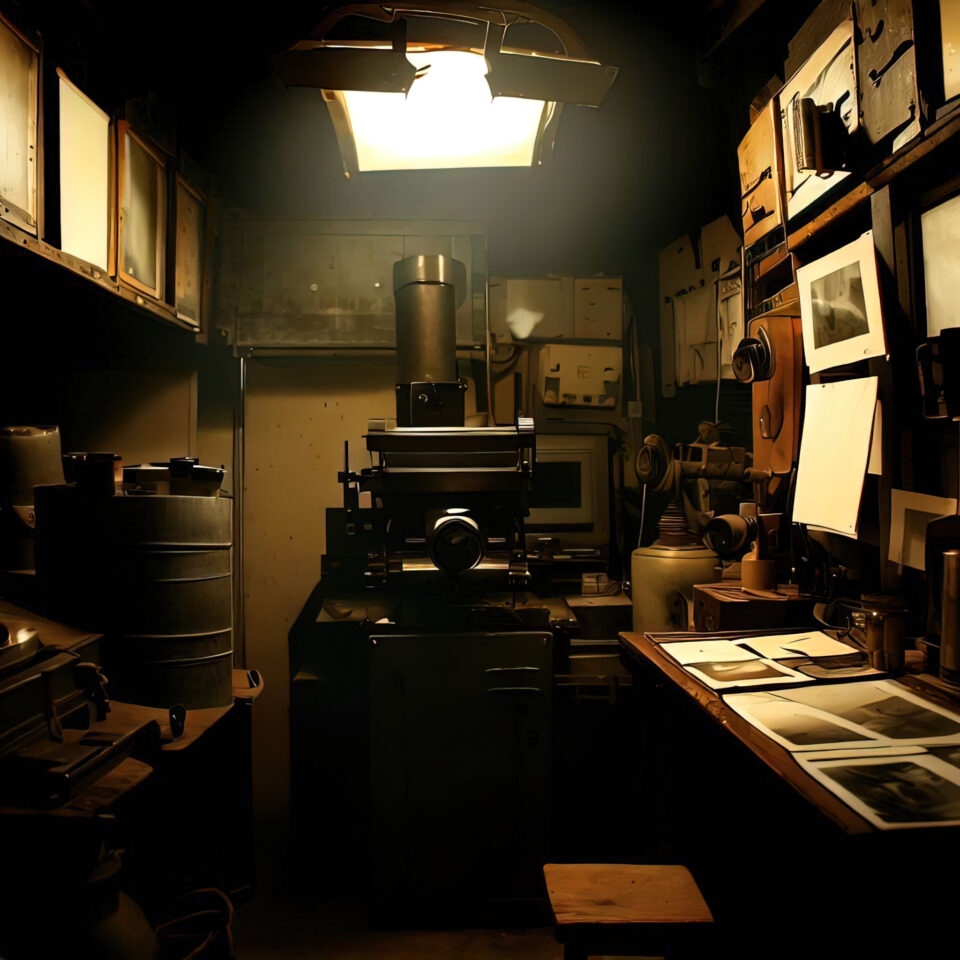
5 – Enlarging and Printing
Now that your film is developed and dry, it’s time to create prints of your images. This process involves projecting the negative image onto light-sensitive photographic paper in a darkroom using an enlarger. The enlarger allows you to control the size, focus, and exposure of the image on the paper. During this stage, you can also make adjustments to contrast, dodging, and burning to fine-tune the final print.
The printing process consists of four main steps: exposing, developing, stopping, and fixing. These steps are similar to those involved in developing film:
- Exposing: The light-sensitive photographic paper is exposed to light projected through the negative in the enlarger. Exposure times vary depending on the desired brightness and contrast of the final print.
- Developing: After exposure, the paper is placed in a tray containing a developer solution, which reacts with the exposed silver halide crystals on the paper to produce a visible image. Developing times depend on the type of paper and developer used.
- Stopping: The paper is then moved to a stop bath solution to halt the developing process and prevent overdevelopment.
- Fixing: The print is submerged in a fixer solution to remove any unexposed silver halide crystals, making the image permanent and light-resistant.
6 – Washing, Drying, and Mounting the Print
Following fixing, the print must be washed thoroughly to remove residual chemicals. The washing process typically takes 15-30 minutes, depending on the type of paper and fixer used. After washing, the print is hung to dry or placed on a drying rack in a dust-free environment. Once the print is dry, it can be mounted, framed, or stored for future enjoyment or exhibition.
Conclusion
Analog photography is a deeply rewarding and engaging art form that allows photographers to connect with the physical process of image creation. The journey from loading film into a camera to producing a tangible print is a unique experience that digital photography cannot replicate. By understanding the intricate process of developing and printing film, you can unlock the full potential of analog photography and create lasting images that tell your story. Whether you’re new to the world of film or an experienced photographer looking to hone your craft, the analog process offers endless opportunities for creativity, exploration, and growth.
All images and all text in this blog were created by artificial intelligences